Starting Programs Automatically Using Cron on a Raspberry Pi
The need for automating tasks on the Raspberry Pi doubles on the embedded systems field, especially in applications that require a minimal setup. In this tutorial, we are going to start programs automatically on boot or in regular time intervals on a Raspberry Pi using CRON.

What is Cron?

Cron is the default task scheduler utility on Linux-based operating systems like the Raspberry Pi OS. It’s the perfect tool for our tutorial today as it can start programs and shell scripts on boot or at regular intervals. Cron is widely used in automating recurring tasks such as sending reports, updating daily weather, watering the plants, etc.
Running a Program on Startup
1. First, open the crontab using the command below.
sudo crontab -eCrontab lets you view and edit the cron table file. The cron table file is a list of scheduled tasks for a particular user on the device. Even the root user has it.
2. Next, choose a text editor. In my experience, I was asked for my preferred text editor when I used the command line using the ALT + F1 shortcut. I tried it again using the desktop terminal, and it didn’t ask me. It just opened the file using nano. Using a different text editor doesn’t make a difference so just choose the one you’re comfortable with.
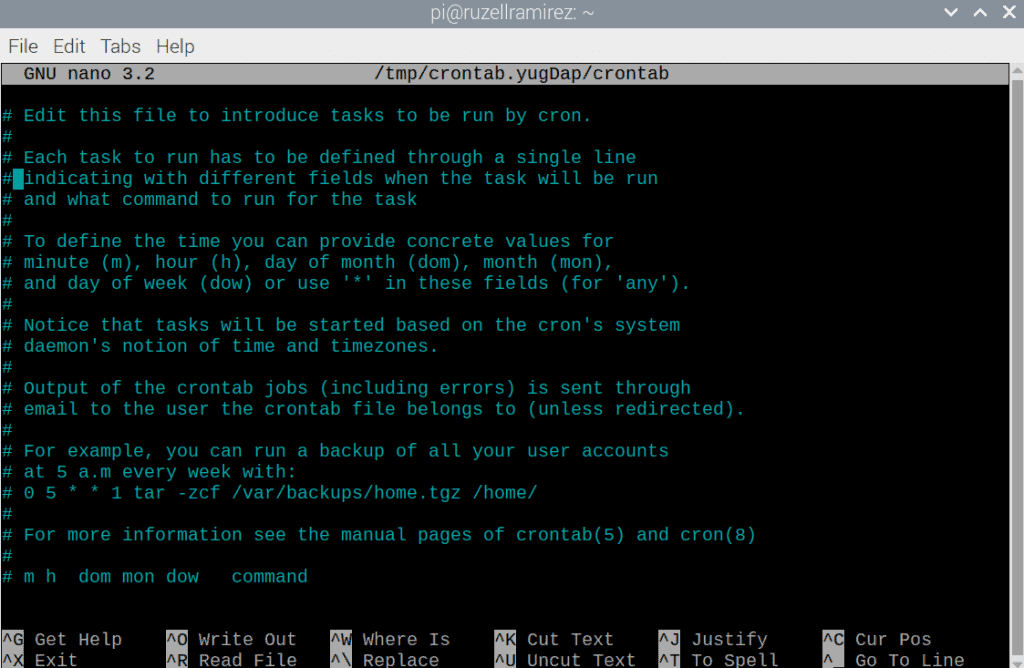
3. Next, add the program you want to run on boot at the end of the file.
@reboot python3 /home/pi/filename.pyTo run the program on boot, the line must have @reboot at the beginning. After that, you can add whatever it is that you need to. For our example, we run the python3 program to launch the python3 interpreter, followed by the script’s path.
4. Lastly, save and exit.
Running a program on startup requires you to have an execute permission with the application and file. You can check using ls -l. Otherwise, to add the permission, enter sudo chmod a+x FILENAME.
Running a Program at Regular Intervals
1. Open crontab.

sudo crontab -e2. Choose a text editor.
3. Add a scheduled task.
In order to do that, we must get familiarized with the format of a cron table entry. Notice the last line:
# m h dom mon dow commandThe layout for a cron entry has six components: minute, hour, day of the month, the month of the year, day of the week, and the command to be executed.
# * * * * * command to execute
# ┬ ┬ ┬ ┬ ┬
# │ │ │ │ │
# │ │ │ │ │
# │ │ │ │ └───── day of week (0 - 7) (0 to 6 are Sunday to Saturday, or use names; 7 is Sunday, the same as 0)
# │ │ │ └────────── month (1 - 12)
# │ │ └─────────────── day of month (1 - 31)
# │ └──────────────────── hour (0 - 23)
# └───────────────────────── min (0 - 59)
For instance, suppose you want to run a program named filename.py every 3 o’clock in the afternoon. The entry should look like this:
15 0 * * * python3 /home/pi/filename.py4. Save and exit.
5. To view your currently scheduled tasks, enter the command below:
crontab -lSurely there are other ways to automate a program on the Raspberry Pi. I know some of them but haven’t tried them all yet. So far, my impression of Cron is that it’s easy to use. Unfortunately, sometimes it cannot be very accurate. It’s still useful, but I think some applications may be better. If you want to know more about the other ways, I can write about them in the next feature.