How to send a tweet with IFTTT and Raspberry Pi
If you’re wondering how to create a Twitter bot with Python and Raspberry Pi, this tutorial is perfect for you. Today, we will make a Raspberry Pi post temperature tweets every hour using IFTTT.

IFTTT
IFTTT (If This Then That) is a free web platform connecting devices and services such as Gmail, Dropbox, Fitbit, and even home assistants like Amazon Alexa. With IFTTT, the features and functionalities of a web service become readily available for other web services or internet-connected devices.
IFTTT works just like a standard if statement—if this condition is triggered, then do this action. To do that, IFTTT uses Applets. These are tiny programs that use a trigger to carry out events. An Applet can do several things, such as controlling GPIO pins from a Raspberry Pi using text messages just like what we are doing today.
Webhooks
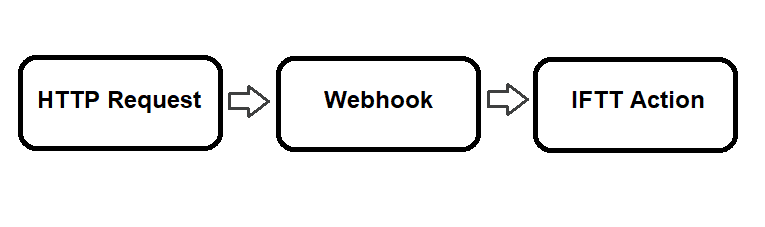
To integrate IFTTT with Raspberry Pi, we need webhooks. Webhooks is a service that triggers events via HTTP requests. HTTP requests, also known as web requests, are messages that a client sends to a server.
There are two types of web requests: HTTP GET and HTTP POST.
HTTP GET is a web request that retrieves data from a web browser. It does not change anything on the server. It just fetches the data from it.
On the other hand, HTTP POST is a web request that transmits data to the server. It adds something new to it.
A typical example of a GET request is browsing a website. You fetch the data needed to display the webpage on your personal computer. On the other hand, POST requests are used to type text into a web page, such as a username and password.
A common webhooks system works like below:
Our sample project will get the readings from a DHT temperature, and humidity sensor then tweets it using the Python requests library and IFTTT. We will also schedule the python sketch to run every hour using crontab. Cron is the default task scheduler utility on Linux-based operating systems like the Raspberry Pi OS. You can read more about it here.

Connecting the Components
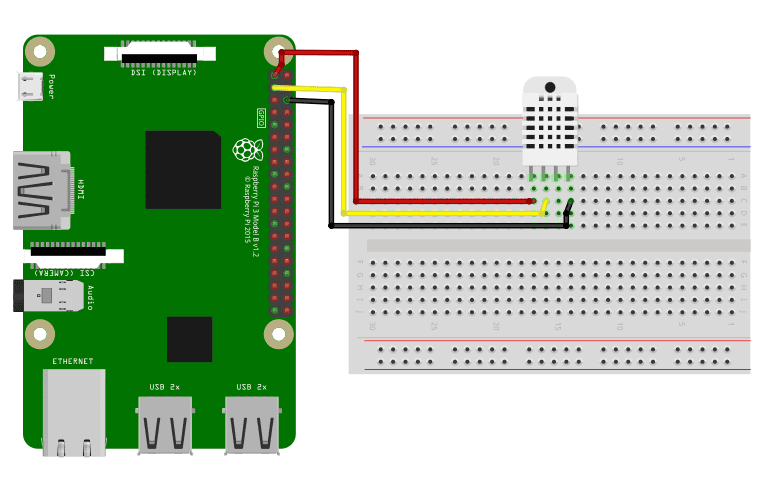
Connect the DHT sensor as shown below. DHT sensors support common input voltages, so you can use either 3.3 or 5V VCC supply. Note that DHT sensors come in several variants. The data pin might be on the left-most side or the middle. Be sure to connect the pins correctly.
Setting up IFTTT
Go to the IFTTT website and create an account.
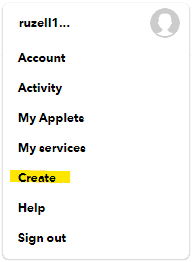
Once logged in, go to the top right toolbar on your homepage and select create. This directs you to a page where you can start creating an Applet.
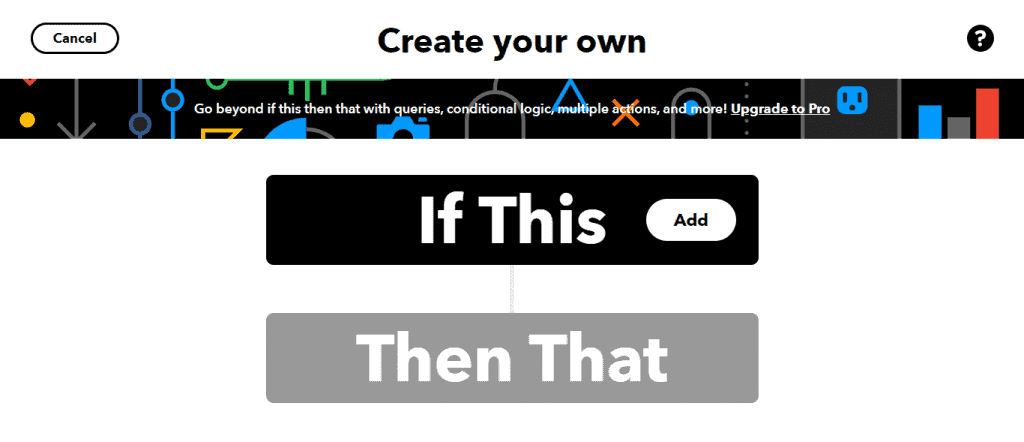
Then, set a condition by clicking Add beside “This”.
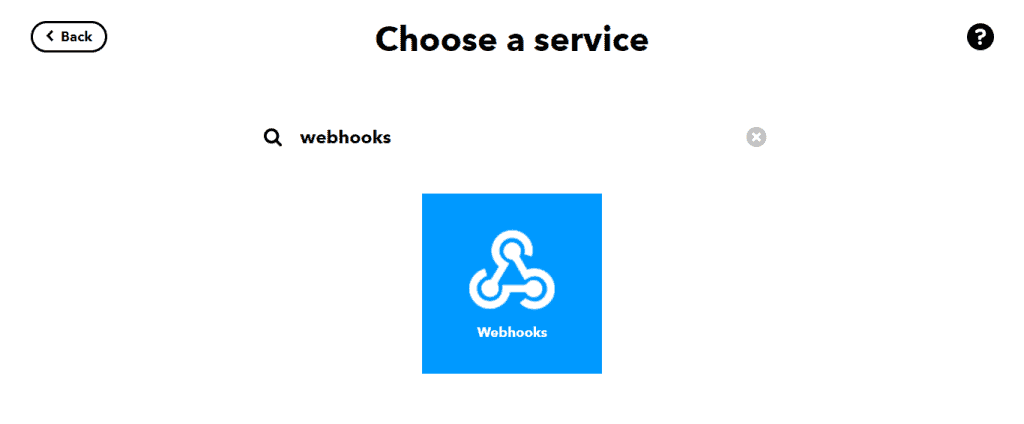
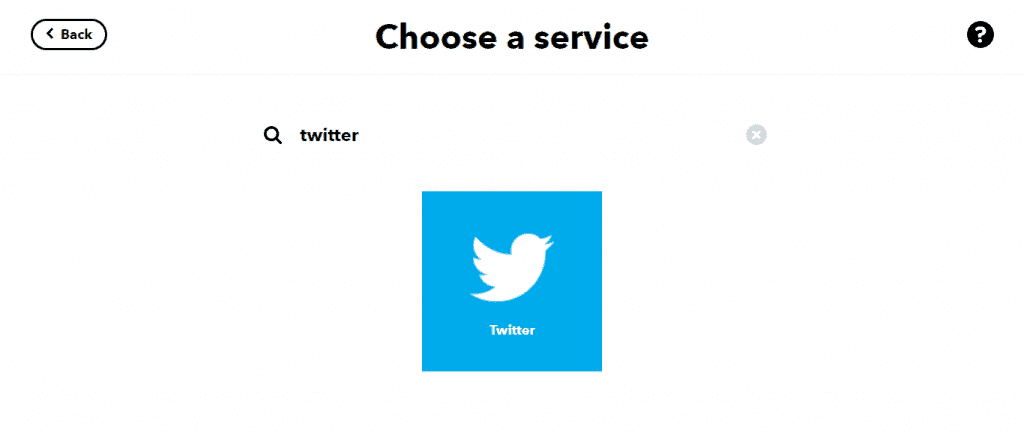
Choose Webhooks as the service.

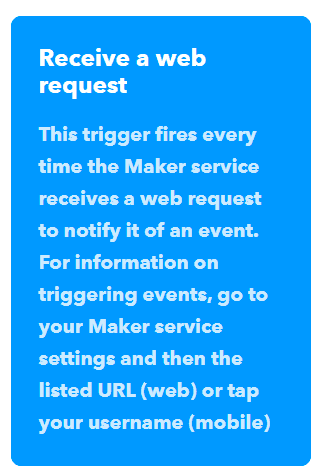
Select Receive a web request. This trigger will give you a URL to which you can send a web request so that it activates and posts the tweet.
Next, name your event. The event name should be short and should describe your applet. This way, you won’t have a hard time using several applets in a single program.
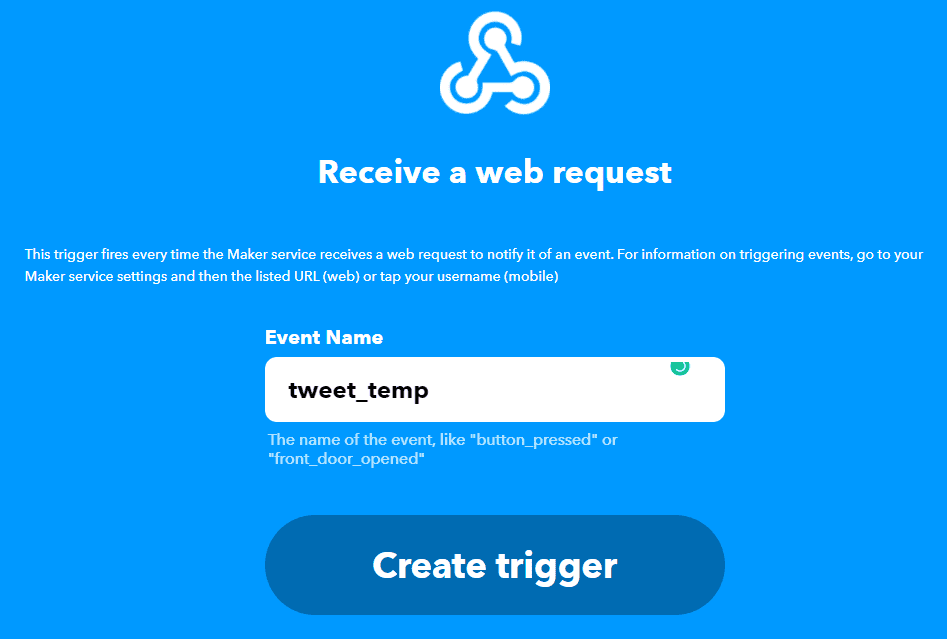
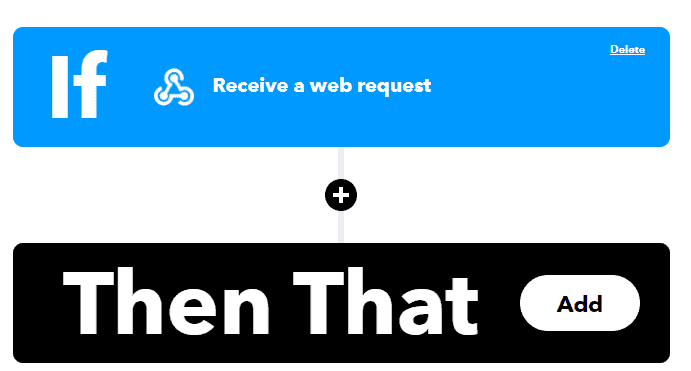
Create the trigger then proceed with the effect. Click Add beside “That”.
Then, choose Twitter as the service you want to trigger.
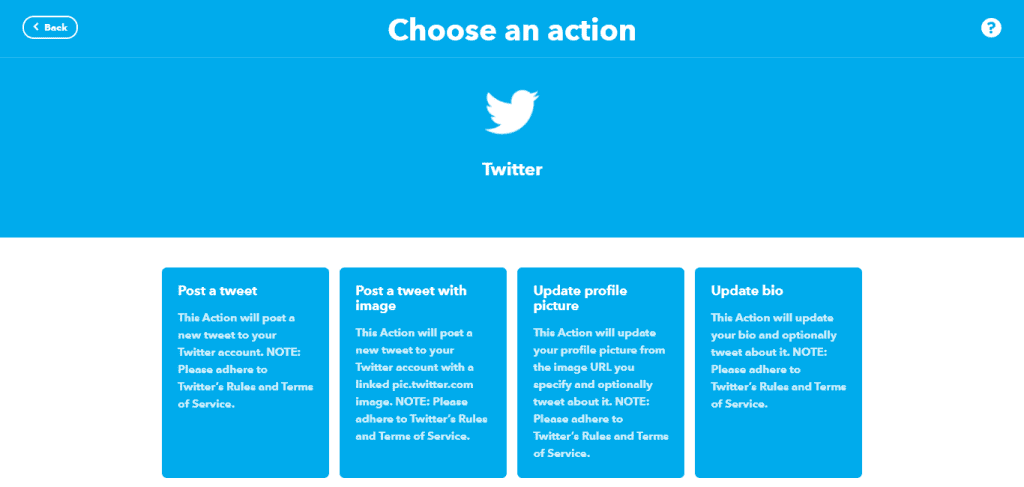
As you can see below, there are several actions you can do using the Twitter service. You can post a tweet, post a tweet with an image, update your profile picture, and even update your bio. For our sample project, we’ll just post a simple text tweet.
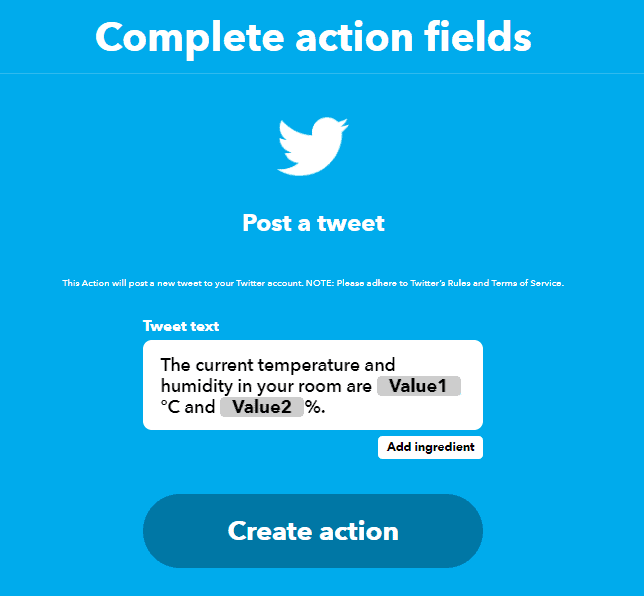
Finally, create the tweet that will be posted on your Twitter feed. You can add elements—variables containing useful data such as the event name, time of occurence, value containers, etc.
After creating the tweet, IFTTT will prompt you to your Twitter account. Log in with your credentials and authorize IFTTT to post on your behalf. Then, finish up by reviewing the applet.
Now, we will get the trigger URL you’ll want to add to your Python program. Go back to the menu bar and click My Services.
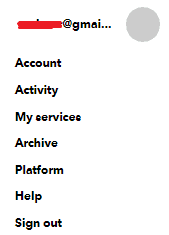
Select Webhooks.

Go to the webhooks home page and click Documentation on the top-right corner. This will open a page that will show you your personal key. The key prevents other people from activating your applet, making sure no one else activates it.


Code
Copy the code below to any Python editor or IDE in your Raspberry Pi.
import requests import Adafruit_DHT def readDHT(temperature, humidity): report = {} report["value1"] = temperature report["value2"] = humidity requests.post("https://maker.ifttt.com/trigger/tweet_temp/with/key/REPLACEWITHYOURKEYHERE", data=report) h, t = Adafruit_DHT.read_retry(11, 2) # DHT11 on pin 2
readDHT(t,h)
The two libraries we will use are requests and Adafruit_DHT. Requests is the go-to library for HTTP handling while Adafuit_DHT is a library made by the well-known electronics company, Adafruit, for any DHT sensors.
The first part of the code contains a function called readDHT(). This function will take the readings from the sensor, convert them into a dictionary format, then send them to the URL we got from IFTTT. Be sure to replace the event name and personal key depending on your IFTTT applet. Also, you can change the sensor and pin with Adafruit_DHT.read_retry() depending on your available DHT sensor and connection.
The code is actually pretty straightforward. Thanks to the power of both libraries we can do everything with less than ten lines of code.
Now, to automate the python program with cron:
1. Open crontab.
sudo crontab -e2. Choose a text editor. In my experience, I was asked for my preferred text editor when I used the command line. I tried it again using the desktop terminal, and surprisingly, it didn’t ask me. It just opened the file using nano. Using a different text editor doesn’t make a functional difference so just choose the one you’re comfortable with.
3. Next, add the scheduled task.
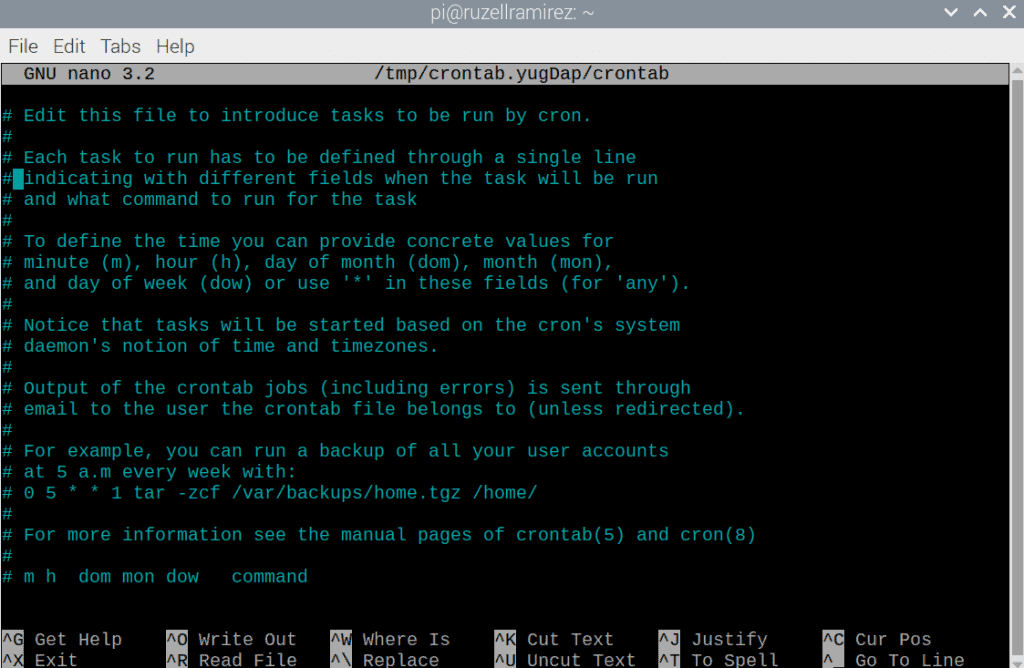
In order to do that, we must get familiar with the format of a cron table entry. Notice the last line:
# m h dom mon dow commandThe layout for a cron entry has six components: minute, hour, day of the month, the month of the year, day of the week, and the command to be executed.
# * * * * * command to execute
# ┬ ┬ ┬ ┬ ┬
# │ │ │ │ │
# │ │ │ │ │
# │ │ │ │ └───── day of week (0 - 7) (0 to 6 are Sunday to Saturday, or use names; 7 is Sunday, the same as 0)
# │ │ │ └────────── month (1 - 12)
# │ │ └─────────────── day of month (1 - 31)
# │ └──────────────────── hour (0 - 23)
# └───────────────────────── min (0 - 59)
For instance, since we want to run the program named tweet.py every hour, the entry should look like this:
0 * * * * python3 /home/pi/tweet.pyIf you want the program to run every minute 30 of every hour, e.g., 12:30, 1:30, or 2:30:
30 * * * * python3 /home/pi/tweet.pyFurthermore, you can use the preset syntax @hourly which is basically the same as the first example entry.
@hourly python3 /home/pi/tweet.py4. Now, save and exit.
5. To view your currently scheduled tasks, enter the command below:
crontab -lDemonstration

Finally, check your Twitter account to verify that the program is working. You can use the code included to tweet any kind of data possible. Just make sure to send the values or strings in a dictionary format with value1, value2, and value3 as keys.