A Beginner’s Guide to Vermicomposting
When we think about waste reduction and management, our minds tend to go straight to recycling. Unfortunately, some of the things that end up in our trash bins aren’t exactly recyclable. But, at least in the case of organic waste, vermicomposting may be a viable solution. If you, like most people, aren’t familiar with this approach, this guide will help you wrap your head around it.
In this article:
Why We Need a New Waste Reduction Strategy

In the past century alone, the amount of waste humans produce has reached record heights. Scientists have long warned that we’d need to implement more extreme waste reduction measures to keep up with the rate of urbanization and population growth. Yet despite those messages, most people and, indeed, corporations have limited their waste management strategies to recycling — if that.
However, that approach doesn’t take into account the waste that can’t be repurposed. Just look at the amount of food waste that ends up clogging landfills around the world. According to some statistics, nearly a third of all food in America is wasted — which has economic as well as environmental consequences.
On the one hand, consumers are essentially throwing money down the drain. But the fact that organic waste is a huge contributor to global warming is even more disturbing.
After all, your leftovers don’t just melt into the ground once they reach landfills. Like any other organic matter, they release greenhouse gases as they deteriorate. A year’s worth of food waste in the US produces about the same amount of greenhouse gases as 37 million cars. Globally, food waste accounts for up to 11 percent of the world’s emissions — a number that’s certainly not insignificant.
With all that in mind, scientists have identified several strategies that can avert food waste from landfills. First and foremost, industries and individuals need to limit the amount of food they purchase in the first place.
If we do end up with leftovers, donating them to hungry people or even animals should be our priority. At the same time, we need to invest in technology that will use organic materials to create biofuel. But for now, composting is the best solution we have for these kinds of materials.
Taking Matters Into Our Own Hands: A Guide to Vermicomposting

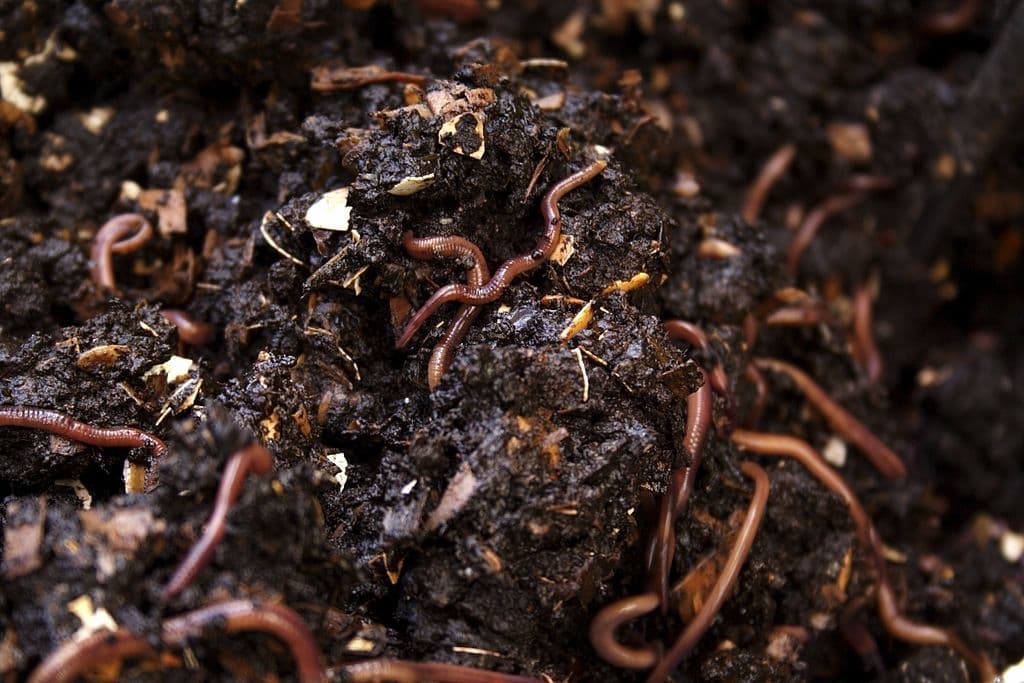
Vermicomposting is the practice of using worms to speed up the rate of decay of organic material inside a composting bin. The resulting fertilizer can then be used to enrich the soil in your garden.
Unfortunately, many people aren’t aware of just how easy composting really is. That’s why we’ve decided to walk you through the whole process.
Related: How to Treat Common Compost Problems
Get Your Supplies
First things first, you’ll need to get your hands on some plastic bins. One of them should be shallow, up to 15 inches deep, and a bit larger than the second bin you get. Since the bottom bin will be used to collect the so-called “worm tea,” that one doesn’t need to have a lid.
However, the taller bin that will sit inside the bottom one will need a lid. That’s where you’ll keep the worms and dispose of the organic materials such as food waste. An 18-gallon tub should do the trick.
Before you create the worm environment inside the main bin, you’ll need to drill some one-inch wide holes through its walls. You’ll need two holes on opposite sides of the bucket about two inches from the top. Additionally, you should add four smaller holes measuring about an eighth of an inch near the bottom of the bin.
Lastly, use waterproof glue to attach bits of plastic screening over the holes you made. You don’t want to let the worms escape. The top holes will let air into the bucket while the bottom ones provide drainage.
Related: Easy Homemade Compost Grows Healthy Plants
Create the Worm Environment
Next up, it’s time to make a cozy little home for your worms. Once the glue you’ve applied cures, get your hands on some paper and a pound of soil.
Ideally, the paper you use should be plain, not shiny. Additionally, you should avoid colored paper if possible. Once you have a good amount, rip it up into tiny pieces and soak it in water. Make sure to squeeze out as much moisture as you can before combining the shredded paper with soil.
In the end, you should be able to cover the bottom three inches of your tub. The mixture should be pretty damp when you finally drop the worms in.
If you’re not too grossed out to hunt for worms in your own backyard, you could use regular old earthworms. But if you can’t tell different kinds of worms apart, you run the risk of using a damaging species called the jumping worm.
To be safe, you can always stick to red wigglers, which are a particularly efficient species for composting. If you can’t find a local supplier, order some online.
Compost Maintenance
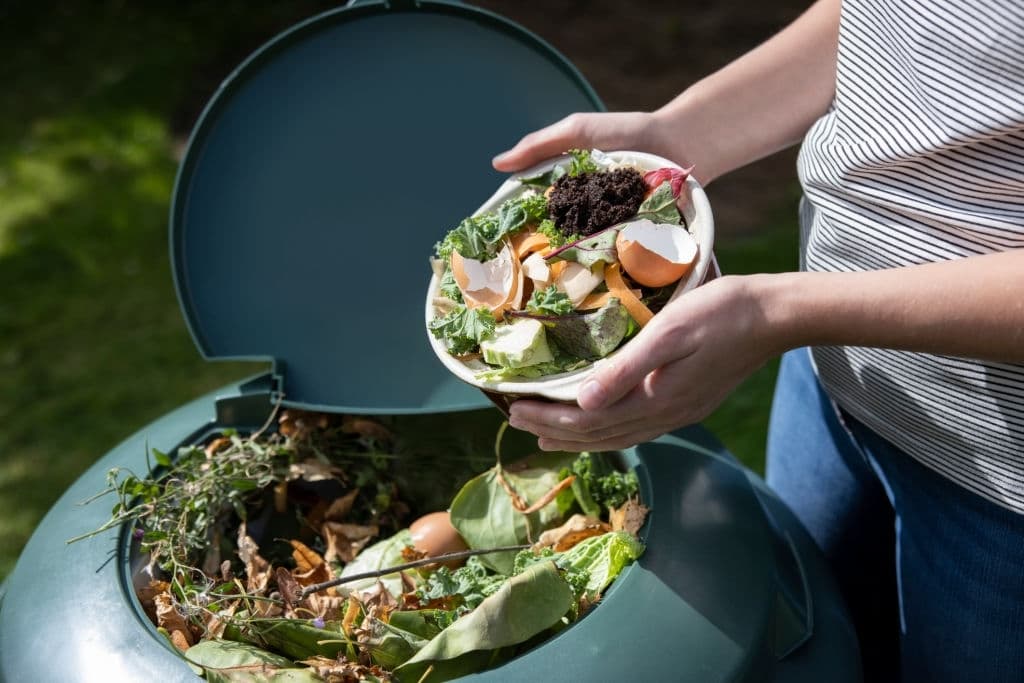
After adding worms to your mixture of soil and paper, you should give them at least a day to adjust to their new environment. While they’re checking it out, you can start preparing their first meal, which can include:
- Vegetable and fruit scraps
- Teabags (though some teas come in plastic or fabric bags)
- Coffee grounds (but not filters)
- Cardboard and paper packaging (as long as you shred it and remove any plastic labels)
You can collect those items in a special container; then toss them into the compost bin once a week. Just avoid giving the worms animal by-products like meat, bone, fat, and dairy.
Over time, you’ll see that the worms will just refuse to eat some of the items you put in. When that happens, take out the offending scraps and consider why the worms haven’t eaten them. Sometimes, all it takes to get them in a more cooperative mood is to cut the scraps into more manageable pieces.
When you want to add waste into the compost bin, use a trowel to create a hole in the soil. Scatter a handful of damp shredded paper inside the hole before tossing the food scraps into it. Before you close the lid, cover the food with more paper and soil for good measure. That should prevent the waste from attracting fruit flies.
Related: Troubleshooting Problems in Worm Composting Bins
Harvest the Compost
Eventually, you’ll notice that your compost bin is getting a bit full. At that point, you’ll be able to start using its contents to fertilize your garden or indoor plants.
If you don’t want to risk setting those worms free when you get the compost, you can feed them on one side of the bucket for a few weeks. That should allow you to access the soil on the other side of the tub more easily.
Alternatively, you can scoop up the soil and spill it onto a newspaper then pick the worms out manually. Of course, you will eventually have more worms than you can handle in there so you could always release a few.
Other than that, your compost bin will also produce a juicy “worm tea” that will collect in your bottom tub. That liquid is a potent fertilizer on its own. You can sprinkle it on your plants every other month or so.

