How to Grow Mesclun in Your Garden for Spring Mix Salads
Going for the gold has its appeal in certain circles, but as a diehard vegetable gardener, I prefer to go for the green.
Or, more accurately, the greens.
And one way I like to conveniently and inexpensively enjoy quite a few homegrown leafy vegetables at the peak of freshness, long before most other types of produce are ready for picking, is by growing mesclun.


We link to vendors to help you find relevant products. If you buy from one of our links, we may earn a commission.
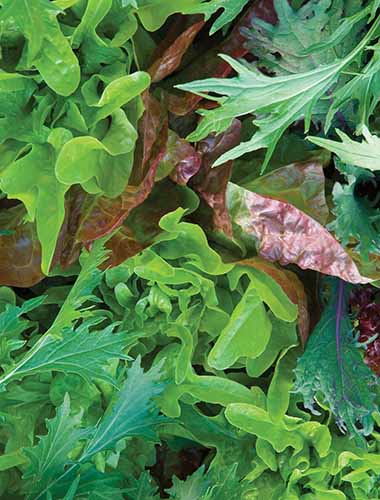
Also known as “spring mix,” mesclun is a blend of a number of different varieties of leafy vegetables that are first to sprout early in the season, sometimes mixed with flavorful herbs like sorrel, fennel, cilantro, and chives.
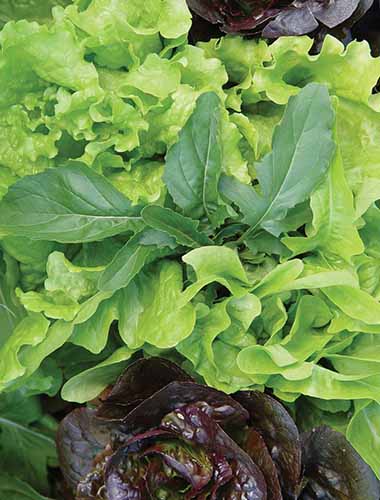
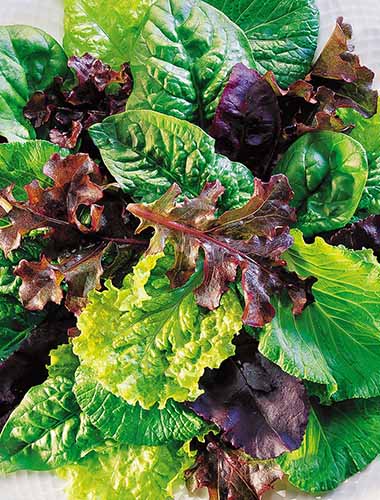
Spicy mixes are commonplace, as are combinations of tender young lettuces with other colorful leafy vegetables like spinach, beet greens, Swiss chard, arugula, endive, and radicchio.
The greens are harvested young – when they are four inches tall, or less – for an early spring or sometimes a late fall salad, picked just before the hard frosts hit.
In this guide, we’ll cover how to grow this versatile home chef’s favorite. Ready to learn more? Here’s what’s up ahead:
What You’ll Learn
What Is Mesclun?
The name mesclun is derived from the word mesclar, which means mixture.
Originally from the Provence region of France, mesclun was once blended in very specific proportions. It contained arugula, chervil, endive, and various lettuces.
In the 1970s, inspired by the diverse salads that chef Alice Waters had enjoyed in Provence, she brought back seeds from France and introduced mesclun salad in her restaurant, Chez Panisse in California.
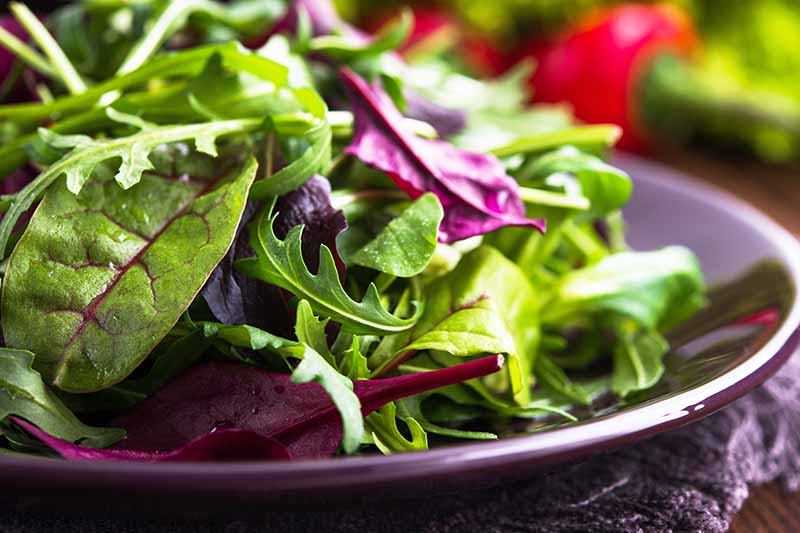

Today, this concept of a leafy greens mix that grows in cool weather and heralds the arrival of spring has expanded in its definition. Home and farm-to-table chefs, and any number of restaurants, often feature mesclun on the menu.
The sweet, mild flavor of baby lettuce is complemented by the spicy, tangy, and herbal notes of other components of the mix, all in various vibrant shades of green and red.
For home gardeners, there are multiple advantages to growing leafy greens in combination, and then harvesting them young when they are at their most tender.
For one, you’ll be able to harvest a delicious mix of flavors and textures in one fell swoop, instead of buying or harvesting each ingredient at different times and running the risk that one will expire before the others are ready.
In my experience, not having to plan to create a spring mix from individual crops encourages me to eat more fresh salad. It also helps me harvest and use or gift the greens before the plants bolt and the leaves become bitter or hot.
Homegrown mesclun is also economical! This kind of salad mix can run more than eight dollars per pound at the grocery store, and costs far more than that to order already prepped in a salad at your favorite farm-to-table cafe or deli hot and cold bar.
But it wouldn’t be fair if I didn’t mention the potential drawbacks as well.
Growing a mix instead of individual leafy varieties can mean your harvest only tastes as good as the worst-flavored plant in the blend.
If you’re not sure whether you or your family members like some of the components with distinct and strong flavors – like endive, chicory, or cilantro – either find a blend without them, or grow a pure lettuce blend instead of mesclun.
Growing lots of different greens in proximity may also leave your garden prone to more potential pest infestations and diseases. I’ve found that I avoid most of the issues that could crop up as mesclun mix grows quickly, and is harvested while it’s young.
Coming up, I’ll share those methods with you. Let’s get growing!
How to Sow
You may come across a four- or six-inch container of young mesclun seedlings for sale at a farmers market or local nursery, to transplant into the garden or a container.
But the most economical option is planting mesclun seed, which is what most home gardeners opt to do.
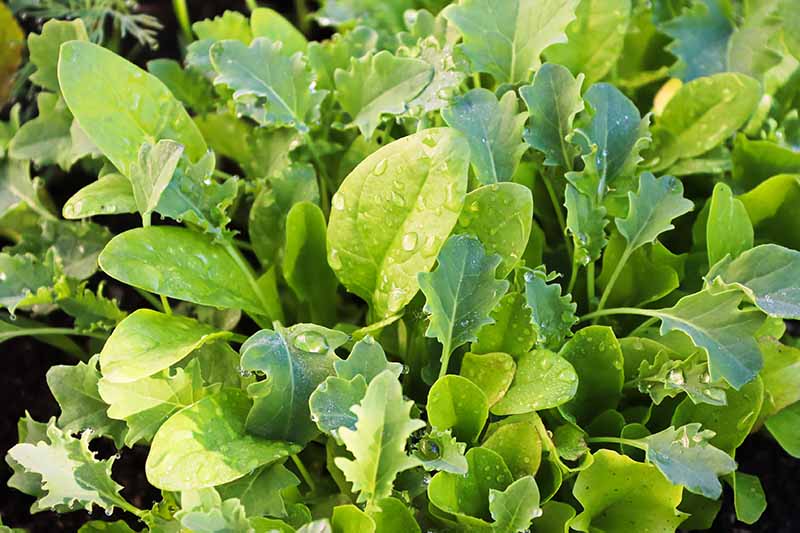

That’s also the way to get the freshest, most tender harvest throughout the cool-weather growing season in early spring and late fall, since you can sow new batches every couple of weeks and then pick the leaves long before the plants bolt and become bitter.
The strategy is just a bit different depending on whether you’re growing in a container, or in a raised bed or garden plot. Here’s how to handle each scenario:
Plant Seeds in a Garden or Raised Bed
Sow this tasty blend in spring after all danger of frost has passed but while the weather is still cool.
The seeds won’t germinate if the temperature is higher than 80°F, and they won’t grow without becoming hot or bitter once the temps consistently exceed 70°F.
If you live in a zone that doesn’t experience frost or cool winters, be sure to pick a sowing and growing window when the weather is coolest in your area, likely between December and February.
Keep in mind, too, that since you’ll be planting a mix that may contain members of different plant families, ideally you should choose a spot where you haven’t grown any of them the year before.
For example, you shouldn’t plant mesclun containing kale the year after you’ve grown another brassica in that spot, or one that has beet greens in the mix the season after you planted its chard relative.
In containers filled with fresh potting mix, you won’t have to worry about this – we’ll cover that option below.
You can sow in average soil, but you’ll want to pick out any soil clumps or rocks and add plenty of composted organic material ahead of planting.
Be sure to pick a spot with good drainage, or amend the soil as needed. Rainy weather that creates a soggy bed in areas that don’t drain well can lead to fungal disease in your crop.
The ideal location will also receive full sun, though some blends do okay in part shade, particularly in zones where the temperature can climb early in the season. Just be sure to read the growing directions on your seed packet before planning and planting.
After loosening the soil to a depth of six to eight inches, level it with a rake and pre-moisten it using a watering can or a garden hose with a fine spray nozzle.
Sow the seeds over the surface of the soil, so they are approximately half an inch to an inch apart, or broadcast them across the surface.
Lettuce and other seeds in the mix are typically very small, and you don’t have to worry about being too accurate, as you’ll be harvesting the baby greens before they have a chance to crowd each other out. Careful spacing of tiny seeds also tends to shift in spring rains, so save yourself the trouble.
Cover the seeds with a quarter-inch layer of fine soil, sand, or perlite, and gently water them in with a fine spray.
Keep them moist until they germinate, which usually takes about seven to 14 days, depending on the varieties in the mix and the weather. The cooler the soil is, the longer they will take to sprout.
Seeds can also be planted in the fall in regions with cold winters, if you get the timing right.
Be sure to sow in your zone with enough time for the seeds to germinate and for the plants to grow to a few inches before the average first frost date in your area.
Sow in Containers
A small bowl of mesclun may be as much as you want to harvest at a time, depending on how much your household members will eat and whether you’re saving your garden real estate for space hogs like tomatoes and pumpkins that you plan to direct sow.
This is also a fantastic option for those without a place to plant in the ground.
Choose a container that has adequate drainage holes and is at least six to eight inches deep.
If you are gardening in a dry area, you should choose one made from a material that retains moisture, such as plastic. Lettuce in particular requires ample moisture, so you’ll have to work a lot harder to keep up with watering if you plant in an unglazed clay pot.
Also make sure to use a fertile potting mix, one that’s designed for container vegetables, instead of filling the pot with ordinary garden soil.
Once you’ve met those conditions, you can sow the mix the same way you would in the ground.
That’s it for the seeds. Now, let’s look at everything that’s required for growing this prized greens mix.
How to Grow
Once the plants are off to a healthy start, your main goal is to keep them growing quickly. A fast pace helps to ensure that the harvest is tender and succulent.
Make sure the mesclun receives plenty of water. The leaves need it to stay mild and grow quickly, and warming temperatures can dry the soil out fast.
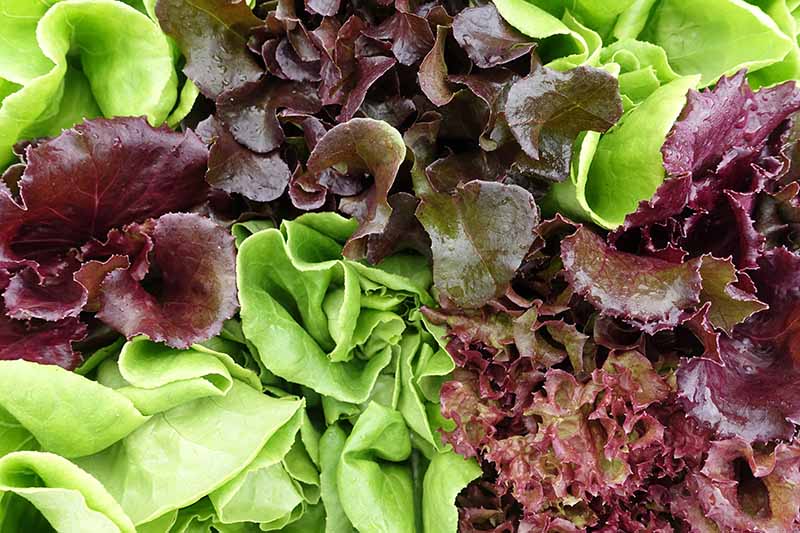

Be sure to give the plants at least an inch of supplemental water per week when rain doesn’t provide it. You can monitor the amount of precipitation you’re receiving with a rain gauge.
If planted in rich potting soil, or garden soil amended with compost, you shouldn’t have to worry about supplementing with additional fertilizer later in the season.
Other than that, you’ll want to weed regularly while making sure you don’t disturb the roots of the plants you want to keep – snipping with scissors instead of pulling is a good option.
All of these leafy greens have shallow roots and should not be subjected to competition for water or nutrients, if you can help it.
Patrol for bugs so you can eliminate any before they gain a stronghold, and watch the weather to make sure the temperatures aren’t going to soar and ruin the flavor of the leafy greens.
Floating row covers can help to keep out any unwanted pests, and provide a little protection from heavy rain or an unexpected cold snap. Shade coverings can help to keep your greens cool if hot weather hits early.
And this may not seem like a chore, but I’ll remind you anyway. It’s important to keep up with harvesting mesclun while it’s still small.
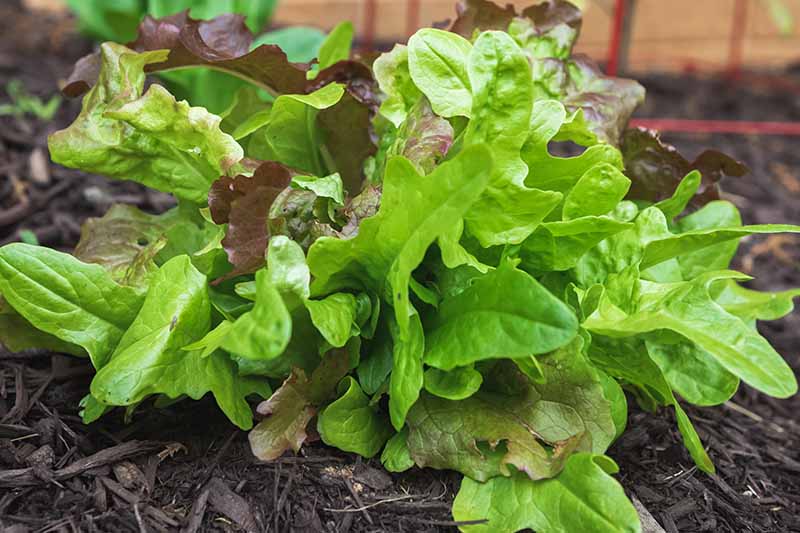

If allowed to keep growing in the garden, as the greens approach their maturity date, many varieties become vulnerable to bolting or taking on bitter or extra-hot flavors.
Pick the baby greens as often as possible once the plants reach a few inches tall.
If you know you’ll want more mesclun later in the season, be sure to plan for successive plantings starting two weeks after the first time you sow, and ending 30 days before you anticipate temperatures above 70°F in late spring, or hard freezes in the winter for a fall planting.
In hotter zones without cold winters, count the average number of days when you receive temperate weather at the coolest time of year, and plan accordingly.
Learn more about succession planting methods in our guide.
If you’re not sure when the temperatures will reach either extreme, you can hedge your bets by planting an end-of-season mesclun crop in a container that’s easy to protect with shade cloth or row cover, and that can come indoors where it’s cool in the event of a heat wave.
Growing Tips
- For the best flavor, only grow mesclun during periods of cool weather.
- Remove or break up lumps in the soil ahead of planting.
- Plant in a full-sun location.
- Provide at least an inch of supplemental water each week during dry weather.
Where to Buy
You can find info on purchasing seeds for individual spring mix components in our guides to growing each type of leafy green, including arugula, chervil, chicory, cilantro, endive, kale, lettuce, and mache, as well as mizuna and other mustards. But the easiest option is to buy a premixed packet.
Here are five prepackaged blends to consider:
Mesclun Mix Leaf Lettuce
A zesty mix of kale, lettuce, and mustard greens, this mesclun mix can grow to 10 or 12 inches at maturity, just 45 days from sowing – so you can plan to start picking in just a few weeks.
This mix will be at its most tender and flavorful best if you cut it at no more than four or five inches tall, and then let it regrow for a second harvest.
This blend is a mixture of organic heirloom and hybrid varieties, developed for growers in southern California.
Find it in 60-seed packets from San Diego Seed Company via Gardener’s Supply.
Provencal Mix
A Burpee exclusive, this mix adheres to the original French mesclun blend with specific proportions of chervil, arugula, lettuce, and endive.
The seedlings will eventually reach a mature height of eight to 10 inches and spread about six inches. But you can harvest starting 30 days from sowing.
Provencal Mix is available in 1500-seed packets from Burpee.
Salad Fresh Cutting Mix
This flavorful mix includes nutty endive, sharp radicchio, red and green lettuces, and hot, spicy mustard greens.
The mature heights for the greens average nine to 15 inches, but there’s no need to heed those seed packet directions when a baby harvest is what you’re after.
Use the “cut and come again” method to sever the whole group about an inch from the soil line when the plants are no more than four inches tall, and you can expect a new harvest to grow in about 20 days.
This selection is available in 1,500-seed packets from Burpee.
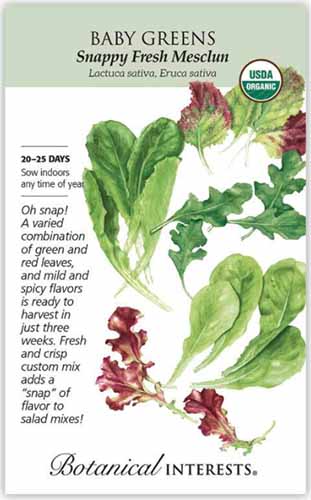
Snappy Fresh Baby Greens
This is a combination of multiple mild lettuce seeds including 36 percent ‘Buttercrunch,’ 16 percent ‘Red Salad bowl,’ 16 percent ‘Parris Island,’ and 16 percent ‘Red Sails,’ accented with 16 percent piquant arugula.
The blend features a couple of red lettuces, too, so the mix is particularly appealing to the eye when grown in a window box or patio planter.
This mix is available from Botanical Interests in packets of approximately 3,000 seeds.
Sweet Salad Mix
A tender, mild-flavored combination of seeds for early spring salads, this blend contains heirlooms including ‘Ruby’ and ‘Simpson’ lettuces, ‘Bulls Blood’ beet greens, ‘Bloomsdale’ spinach, and ‘Tendergreen’ mustard.
Begin harvesting about 30 days after germination, when the leaves are about three inches long.
Sweet Salad Mix is available in 750-seed packets from Burpee.
Managing Pests and Disease
As I mentioned earlier, you can avoid a number of the diseases and insects that would otherwise plague mesclun greens by growing them quickly, harvesting them at baby leaf size, and getting them out of the garden after the last harvest is complete and before the hot weather sets in.
I’m not saying that you can magically avoid all issues this way, but it will help.
It may be tough to anticipate particular pests and diseases when the different components of the mix are prone to different issues. But because you will be harvesting baby greens early in the season, the odds are in your favor that you’ll be able to nab a harvest or two without a problem.
You can also deter ailments that are common to many vegetables, like leaf spot or downy mildew, by avoiding overhead watering.
Because these greens are planted so close together, you may encounter issues with damping off, a disease that’s common when you grow greens from seed.
To prevent this ailment, only buy seeds from a reputable source, make sure the soil doesn’t become waterlogged, and refrain from fertilizing after the seeds germinate. A little extra side-dressing with compost shouldn’t hurt if your garden soil’s lean, but they probably won’t need it.
As for insect pests, you may spot aphids, the green, red, or peach-colored sucking insects that leave a sticky residue on the leaves known as honeydew that attracts ants.
They tend to be most active within the temperature range that’s ideal for growing these greens, but they’ll often succumb to natural predators in a healthy and thriving garden. Learn more about beneficial insects in our guide.
You should also watch out for cabbage loopers, green worms with white stripes that will munch away happily on the vegetation.
You can usually deter them with floating row covers applied at planting time, or pick them off by hand if you spot them. Container-grown crops can be covered as well, and it’s easy to cut row cover to size and secure it beneath your pots.
Learn more about cabbage looper detection and elimination in our guide.
Finally, the appearance of slugs is a common springtime garden occurrence, and they love a tender salad as much as the next guy. Pluck and dispose of them when you see them, and see our guide for additional suggestions.
Harvesting and Storage
It’s fun to pick and eat homegrown spring mix. Because the different components will grow and develop their flavors and textures at slightly different paces, you’ll never have the same exact harvest twice if you cut and come again.
Most freshly-germinated mesclun greens are plenty tasty at even an inch or two tall. Be sure to wash and dry them before nibbling them out of hand or adding them to salads. (And check for slugs!)
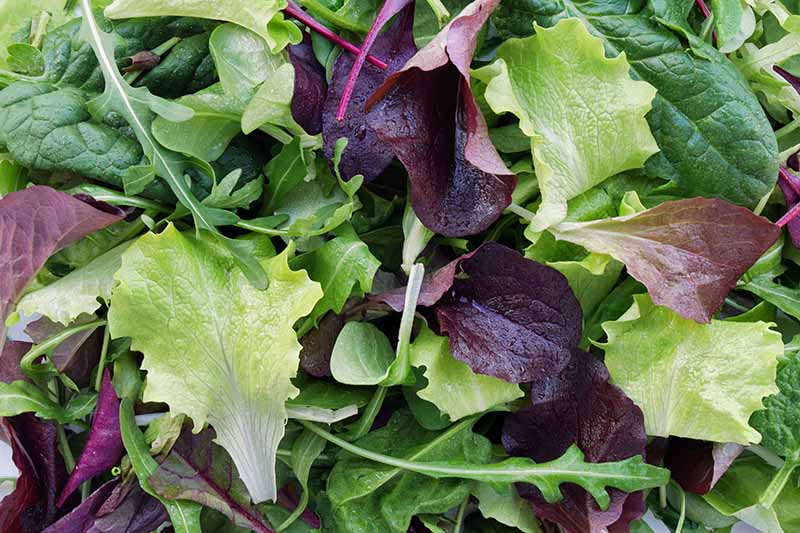

Start harvesting the baby greens in earnest about 30 days after the plants have begun sprouting. You can pick the outer leaves first if you prefer, using scissors to cut them about an inch from the soil level and leaving the inner leaves to keep growing.
Use the “cut and come again” method when plants reach a maximum of four to five inches tall. Slice the plants or loose leaves horizontally about an inch above the soil line.
If the weather’s still cool enough, the plants will reliably grow a second crop of baby leaves in about three weeks.
You don’t want to ask the plants to regrow more than twice, though, or the resulting produce may be tough or start to develop a bitter or spicy flavor.
Refer to our lettuce and kale harvest guides for more tips on when and how to pick leafy greens.
Once you’ve cut the greens from the plants, you can expect them to last about a week in a bag in your refrigerator’s vegetable crisper. You can wash and dry them before storing or before consuming, that’s up to you.
Keep in mind, however, that washing before storage without drying thoroughly can lead to rot, and tender young greens are prone to bruising. Your best option is to eat these greens immediately following harvest.
Recipes and Cooking Ideas
I aim to enjoy all I can while these baby veggies are in season, some of the first to arrive on my plate each year, fresh from the garden.
That way, I have a clean conscience when warm weather sets in and I must uproot and compost the plants – and then wait until early fall before I’ll have another harvest to gobble.
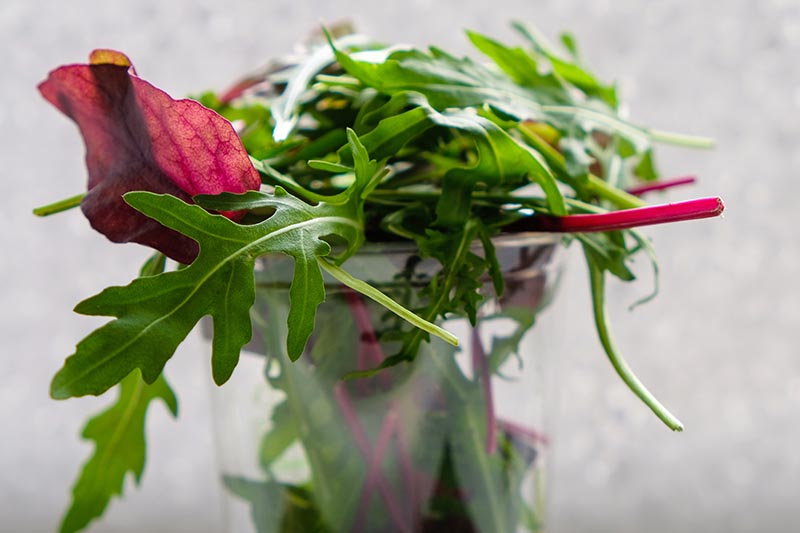

Once you’ve gotten into the habit of harvesting these fresh baby greens at their peak of tender flavor, you’ll find dozens of ways to enjoy mesclun mix.
My favorite is simply tossing a couple of cups with a teaspoon or two of high-quality, fruity olive oil and a couple of teaspoons of fresh-squeezed lemon juice, and then seasoning the combo with flaky sea salt and a grind of black pepper.
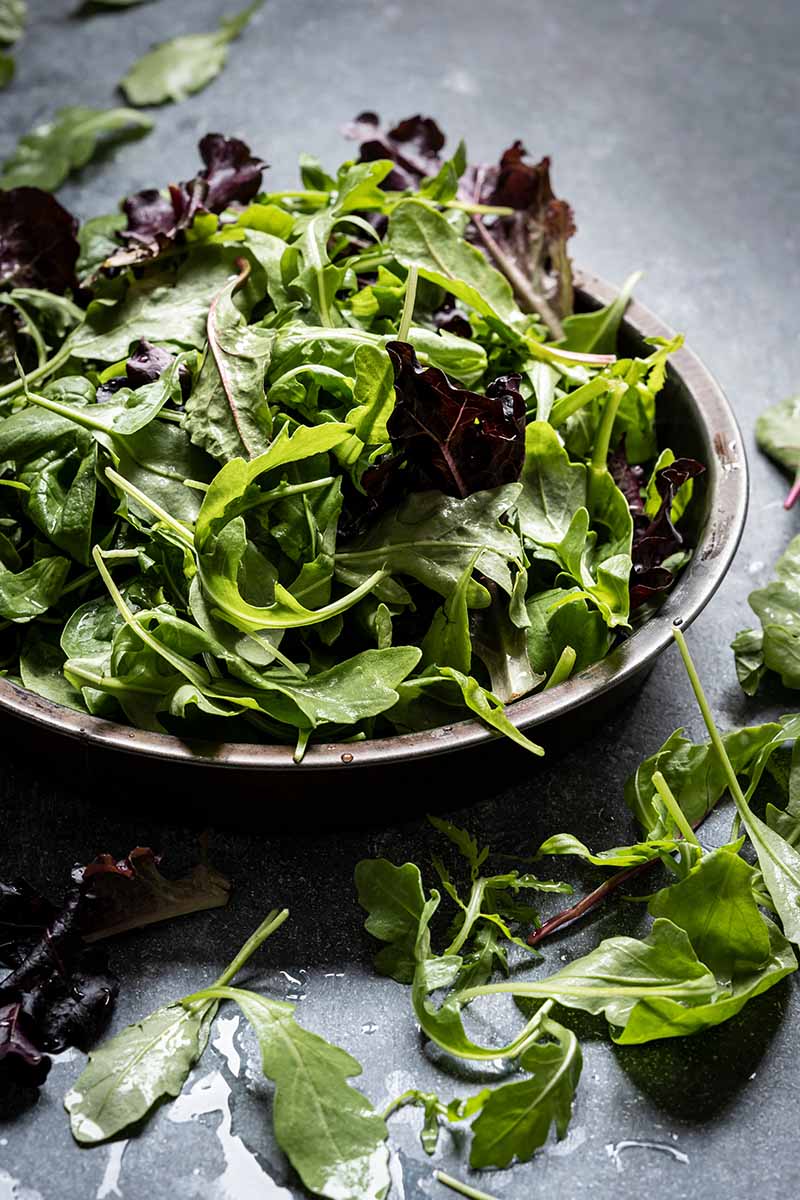

I’ll eat that with a fork on its own, pile it on top of fresh-baked pizza slices, or stuff it into a pita pocket with some grilled seafood.
When you’re growing a milder mix, you can use it to add nutrition, fresh flavor, and texture to everything from burgers and cheese sandwiches to avocado toast or pasta salad.
You can also employ spring mix in place of a single baby green or different types of lettuce in your favorite recipes.
It’s delicious as a substitute for plain arugula in this recipe for pear and arugula salad with maple vinaigrette and creamy fried goat cheese from our sister site, Foodal, for example.


Or you can use it in place of the spinach in Foodal’s recipe for summery spinach and sun-dried tomato pasta salad.
If you harvested your crop a bit late, the larger, tougher leaves – particularly if your mix only contains a small percentage of butterhead, crisphead, or leaf lettuces – also lend themselves well to braising for a side dish.
Try substituting a couple of handfuls for the plain chard in this recipe from Foodal for sauteed Swiss chard with caramelized onions, almonds, and raisins.
If you start suffering from salad fatigue, you can also plunk some clean tender greens into a smoothie, or lightly steam them until they’re just wilted, and eat them atop a stew, or cooked lentils or dried beans.
But keep in mind that like baby spinach, mesclun will shrink significantly when it’s cooked, and it’s best eaten fresh.
Quick Reference Growing Guide
| Plant Type: | Annual leafy vegetables | Tolerance: | Light frost |
| Hardiness (USDA Zone): | 2-11 | Maintenance: | Low |
| Season: | Spring, fall, winter with cold protection | Soil Type: | Organically rich, loose |
| Exposure: | Full sun to part shade | Soil pH: | 6.0-7.0 |
| Time to Maturity: | 30 days | Soil Drainage: | Well-draining |
| Spacing: | 1 inch, or broadcast seeds | Water Needs: | Moderate |
| Height: | 5 inches | Genus/Species: | Various |
| Spread: | 2-4 inches | Common Pests | Aphids, cabbage loopers, rabbits, slugs, snails |
| Planting Depth: | 1/4 inch (seeds) | Common Diseases: | Bacterial leaf spot, damping off, downy mildew |
Mesclun: the Ultimate Mix-and-Match Garden Veggie
A fresh harvest of spring mix from a garden, raised bed, or container in cool weather is an inexpensive luxury.
I succeeded with my very first batch of mesclun as a beginner gardener. Each year since, I’ve planted at least a container and sometimes a whole patch of some salad mix, and my pleasure in the annual harvest has never diminished.
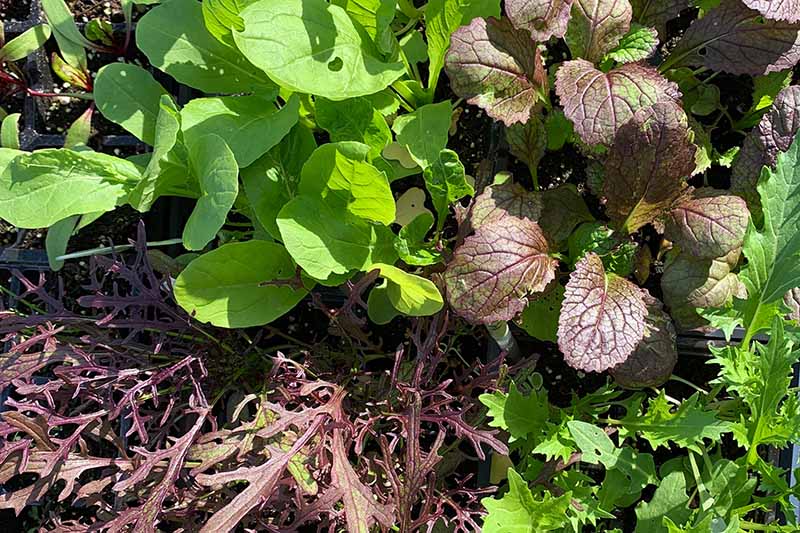

I’ve experimented with a spicy combination that involved cilantro and radish greens, a cold-weather mesclun with spinach and kale, and a mostly lettuce container effort that also included baby ‘Dark Opal’ basil.
What about you? Have you already sampled some homegrown mesclun and emerged with a favorite? If so, kindly weigh in with your picks in the comments section below.
Should you have a question about some aspect of growing spring mix, we’re here to help.
And if you found this information useful, read these leafy green guides next:


