Turn your Raspberry Pi into a WiFi monitoring sensor
Introduction to Raspberry Pi
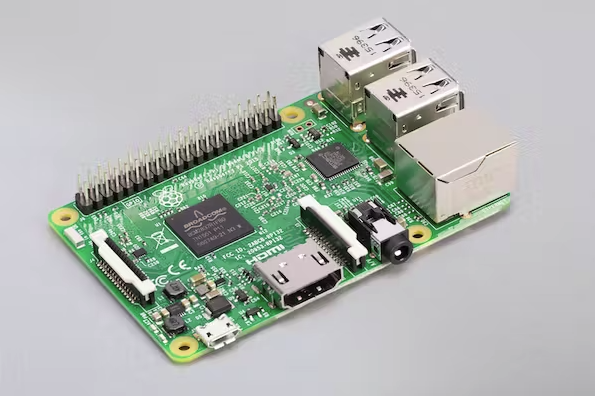
Since our company’s inception, we have recognized the immense potential of the Raspberry Pi as a cost-effective and versatile platform for distributed network monitoring. By leveraging the power of Raspberry Pi devices strategically placed throughout a network, we have been able to offer a comprehensive and efficient solution for real-time network performance monitoring. Our commitment to utilizing Raspberry Pi technology has allowed us to provide businesses with valuable insights into their network infrastructure, enabling them to proactively identify and address potential issues before they impact end-users.

Build your own WiFi sensor
Given the widespread popularity and availability of Raspberry Pi devices, it’s understandable that some of our tech-savvy users would prefer to leverage their own hardware. We recognize this preference and have designed our product to seamlessly accommodate the integration of customer-provided Raspberry Pi devices. This flexibility not only caters to diverse user needs but also aligns with our commitment to open and adaptable solutions.
NetBeez enables these users to easily implement WiFi monitoring. By using Raspberry Pis users can collect various wireless metrics such as signal strength, link quality, and bit rate. They can also test WiFi connection timing and gather have historical data that help you troubleshoot RF issues.
For those who prefer a more hands-on approach and want to test our product using their own Raspberry Pi, we’ve made the process incredibly easy and hassle-free. Below, we provide a step-by-step guide on how to transform your Raspberry Pi into a powerful network monitoring sensor.
How to set up your own dashboard and sensor
Step 1 – Request a NetBeez dashboard
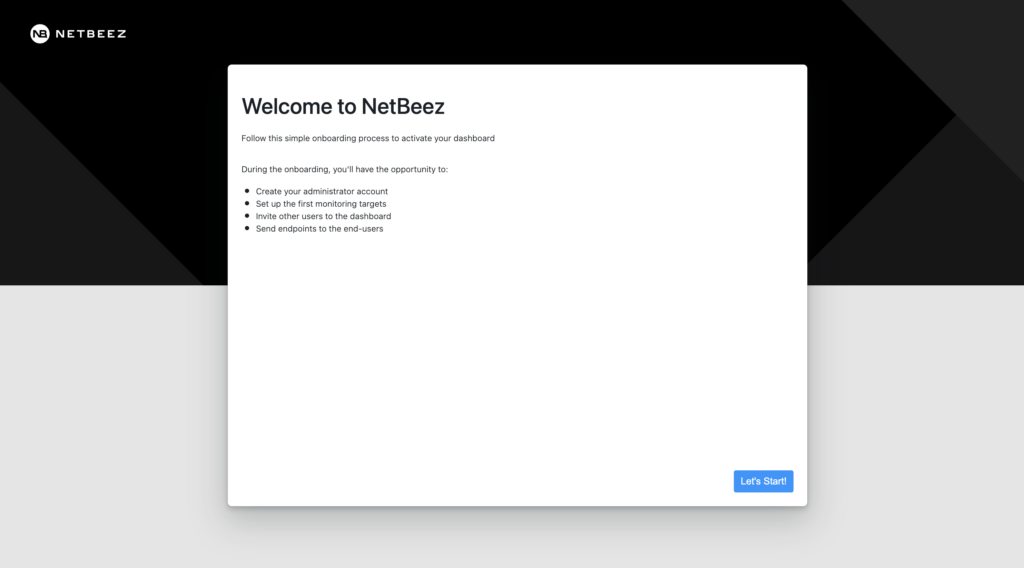
First of all, request a NetBeez dashboard on the NetBeez website. The dashboard will give you a graphical user interface to manage your WiFi sensor and gather wifi metrics and network performance data. Once you have submitted the request, we will build your dashboard environment, and send you an invitation to activate the dashboard. Once you receive the welcoming email, go ahead and follow the wizard to create and account and set up your dashboard.

You are also more than welcome to request a demo and get assistance during your free trial.
Step 2 – Set up the Raspberry Pi
We have a pre-built DIY image that you can download and burn on your Raspberry Pi that has most of the configurations required set up. You can download the image clicking on the following link (DIY Image) and then burn it on a 16GB SD card.
To summarize, you will need the following items to get build your WiFi sensor:
- Raspberry Pi 4 or earlier *
- 16 GB micro SD card
- Use our DIY Image
* Support for the Raspberry Pi 5 is coming soon!
Once you have booted your Raspberry Pi, make sure to log in as netbeez and change the default password, which is netbeez, with the utility “passwd”.
Onboard WiFi card
Starting with the Raspberry Pi 3 B+ and later models, these devices come equipped with built-in Wi-Fi capabilities. This integration further simplifies the deployment and management of Raspberry Pi-based network monitoring sensors, making them even more convenient for users. One thing worth noting is that the onboard chip supports up to the WiFi-5 standard. Moreover, the 5 GHz band is supported only with Raspberry Pi 4 and later ones.
If you want to use the on-board WiFi interface, then you don’t have to do anything else as our image supports it natively.
External WiFi dongle
You may have to use an external WiFi dongle for two reasons:
- You have an earlier version than Raspberry Pi 3 B+ that doesn’t have an onboard Wi-Fi
- Your have a Raspberry Pi 3 B+ and later models but you want to support for WiFi 6/6E networks, which, as of August 2024, is not currently supported by the Raspberry Pi.
If that’s the case, then in the next step you will be asked to disable the on-board WiFi so you don’t have two interfaces conflicting.
External WiFi 6/6E dongles
Here are the external WiFi USB dongles that we tested and support:
The NetBeez image already includes the necessary drivers and firmware to support these WiFi dongles.
Step 3 – Link your sensor to your NetBeez dashboard
Once you have your Raspberry Pi up and running, you can ssh or console to it (default username/password are netbeez/netbeez) in order to assign it to your dashboard. To do that:
- On your dashboard click on the NetBeez settings (upper right cog)
- Copy the agent setup commands
- Paste the commands on your agent’s terminal
The command looks like this:
curl -L -O https://raw.githubusercontent.com/netbeez/agent-installation/master/agent_setup.sh;
sudo bash agent_setup.sh --secret=xxxxxxxxxxxxxxxxxxxxxxxxx;
The script will ask you if you want to leave the on board WiFi enabled or not (see step 2) and might reboot the device for the final set up.
With all these you should be able to see the agent thumbnail on your dashboard and from that point forward you are able to set up tests and begin your monitoring and testing.
Closing remarks
If you have any questions you can reach us at sales@netbeez.net, otherwise take a look at our documentation or YouTube channel for tutorials, examples, and best practices. For any questions and discussions topic take a look at our community.

Get your free trial now
Monitor your network from the user perspective
